Installation
1. For Windows users, go to the mIRC homepage and download the client. Mac users can try using Snak, but since I don't have a Mac, unfortunately I can't give instructions for how to install and run it.
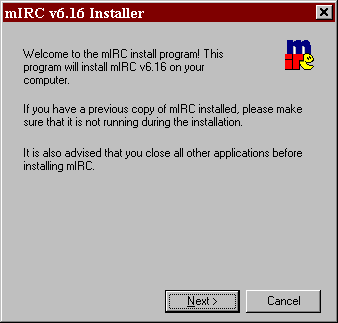
2. Run the .exe file that you just downloaded. You should get a screen like this:
3. After accepting the license agreement, it should ask you where you want to install the program. Remember this folder, so you can go to it once you finish the installation.
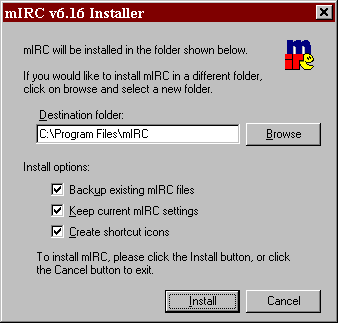
4. After that, hit "Install", and you should be all set.
Initial Setup
1. Go to the folder where you just installed mIRC. In my case, it was C:\Program Files\mIRC. You should have a set of files that looks like this:
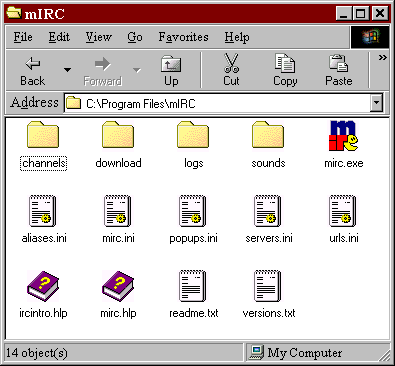
2. The only file you'll really care about is the blue, red, and yellow "mirc" file. Click on that to run the program. When the program first opens, it'll probably bug you to register it. Just hit "Continue".
3. After closing the registration screen, the options menu should pop up. If it doesn't, you can access the options by clicking the icon of a folder with a hammer in the upper left corner. The options menu looks like this:
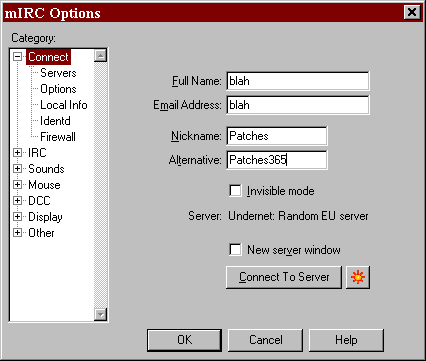
4. Fill in your name, e-mail, nickname, and alternate nickname. The name and e-mail are there for profile purposes, so if you don't want people to know them, just put random gibberish in those fields. You have to supply SOMETHING there, though, or else the program won't run. The alternate nickname is in case your nickname is already taken. IRC is a very large network, so common names might already be in use.
5. Next, click on the "Servers" subsection in the left-hand menu. It will take you to a screen like this:
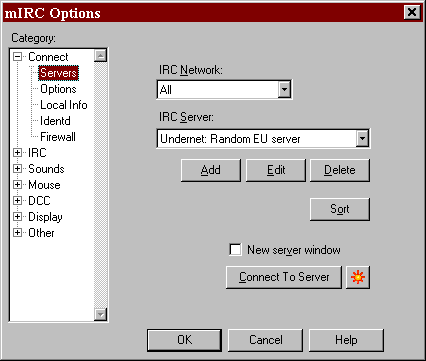
6. Click "Add". A small window should pop up like this:
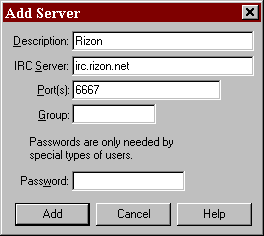
7. Fill in the description with "Rizon" and the IRC server with "irc.rizon.net", as shown above. Leave everything else alone and click "Add".
8. Once that's done, you should see that the "Rizon" you just added is now selected in the IRC Server dialogue box. Now that you have the server, click "Connect to Server".
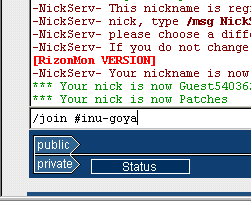
9. When you connect, the main window will scroll through a whole bunch of text that you really don't have to read. Once it finishes doing that, type "/join #inu-goya" in the dialogue box at the bottom of the main window. This should open up the #inu-goya chat room.
10. And that's it! Your settings will be saved, so every subsequent time you log on, you should only have to follow steps 8 and 9.
Web Applet
1. Go to http://www.rizon.net/webchat.php.
2. If prompted to accept a download, say "Yes". This will run the applet in the web browser.
3. Once connected, you'll see a bunch of text that you can ignore. You'll be given a default
name like "Anonymous" or "Guest". To make your own name, type "/nick" followed by your desired
handle:
4. Once you have your name, to enter the #inu-goya chat room, type "/join #inu-goya":
Action commands
Private Messaging
If you have any trouble installing or using IRC, ask for help on the
message board.

Basic IRC Features